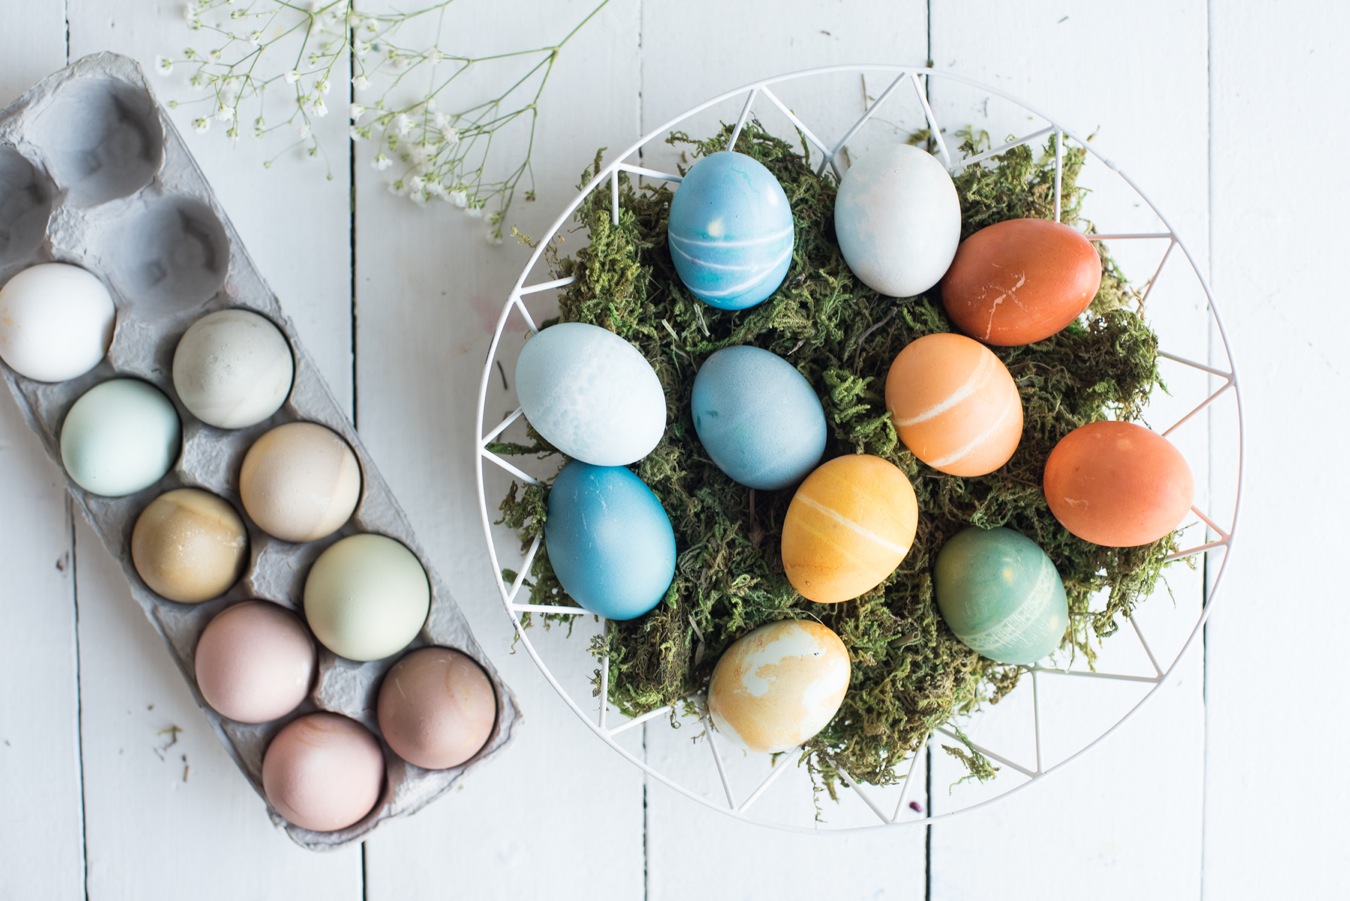
Natural Easter egg colouring guide
Colouring Easter eggs is a fun weekend activity to do with the kids, and the result adds so much colour to your table. Not a fan of all those neon dyes out there? Here are a few plant-based colouring recipes even your great grandma would envy.
We also have a few pattern creation ideas for you, but don’t be shy, let loose, improvise, and use what you have on hand. Have fun!
- Marie des neiges Magnan
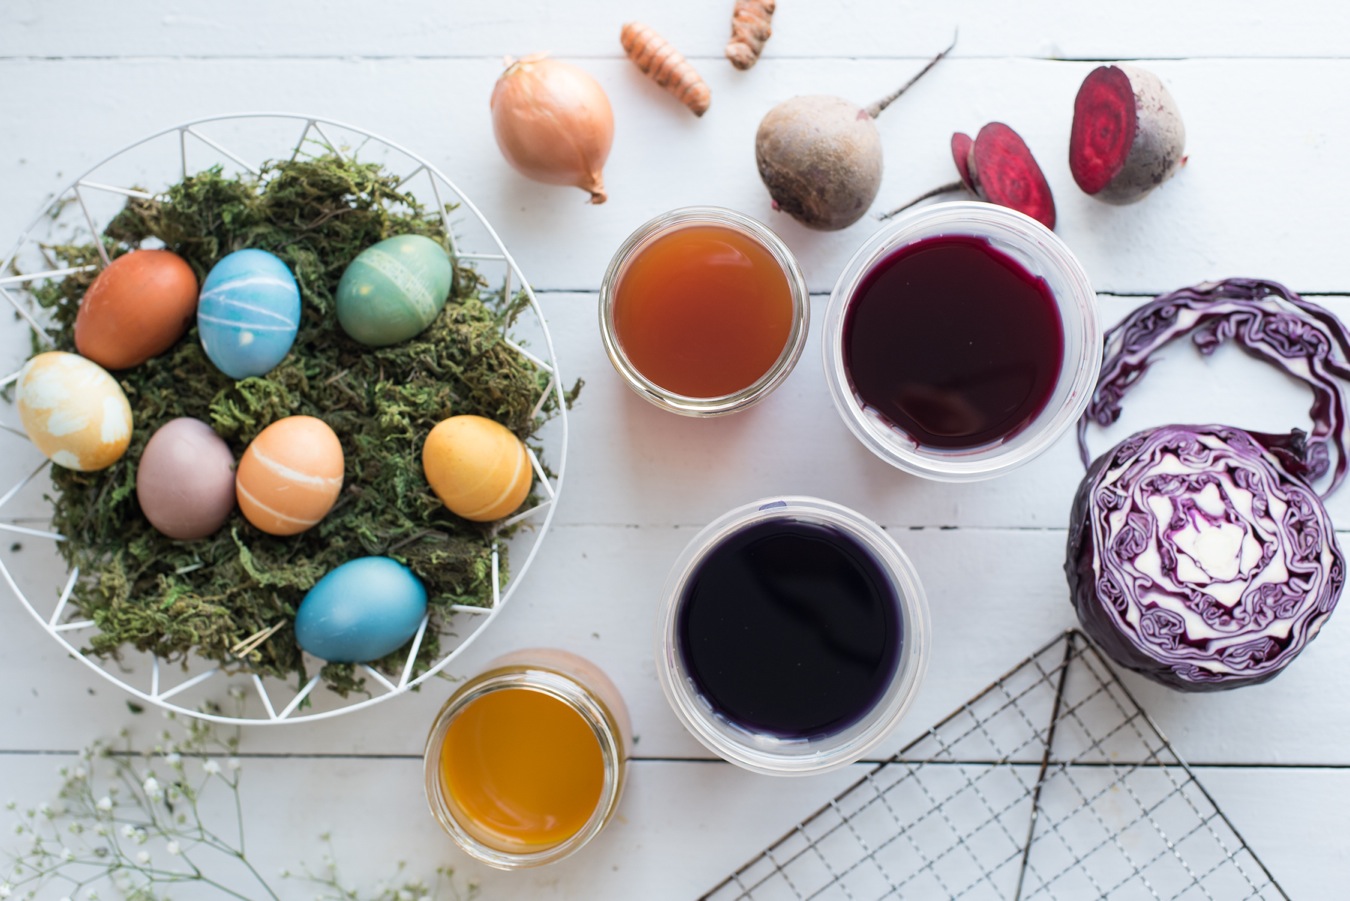
Ingredients
Blue Colouring
- ¼ red cabbage, or a cup of frozen wild blueberries
- 3 cups water
- 1 tbsp. white vinegar
Yellow Colouring
- 1 cup water
- 3 tsp. ground turmeric (or grated fresh)
- 1 tbsp. white vinegar
Pink Colouring
- 1 grated red beet, or a few tbsp. organic red beet powder
- 2 cups water
- 2 tbsp. white vinegar
Burnt Orange Colouring
- Peels of 6 yellow onions
- 2 cups water
- 2 tbsp. white vinegar
Preparation
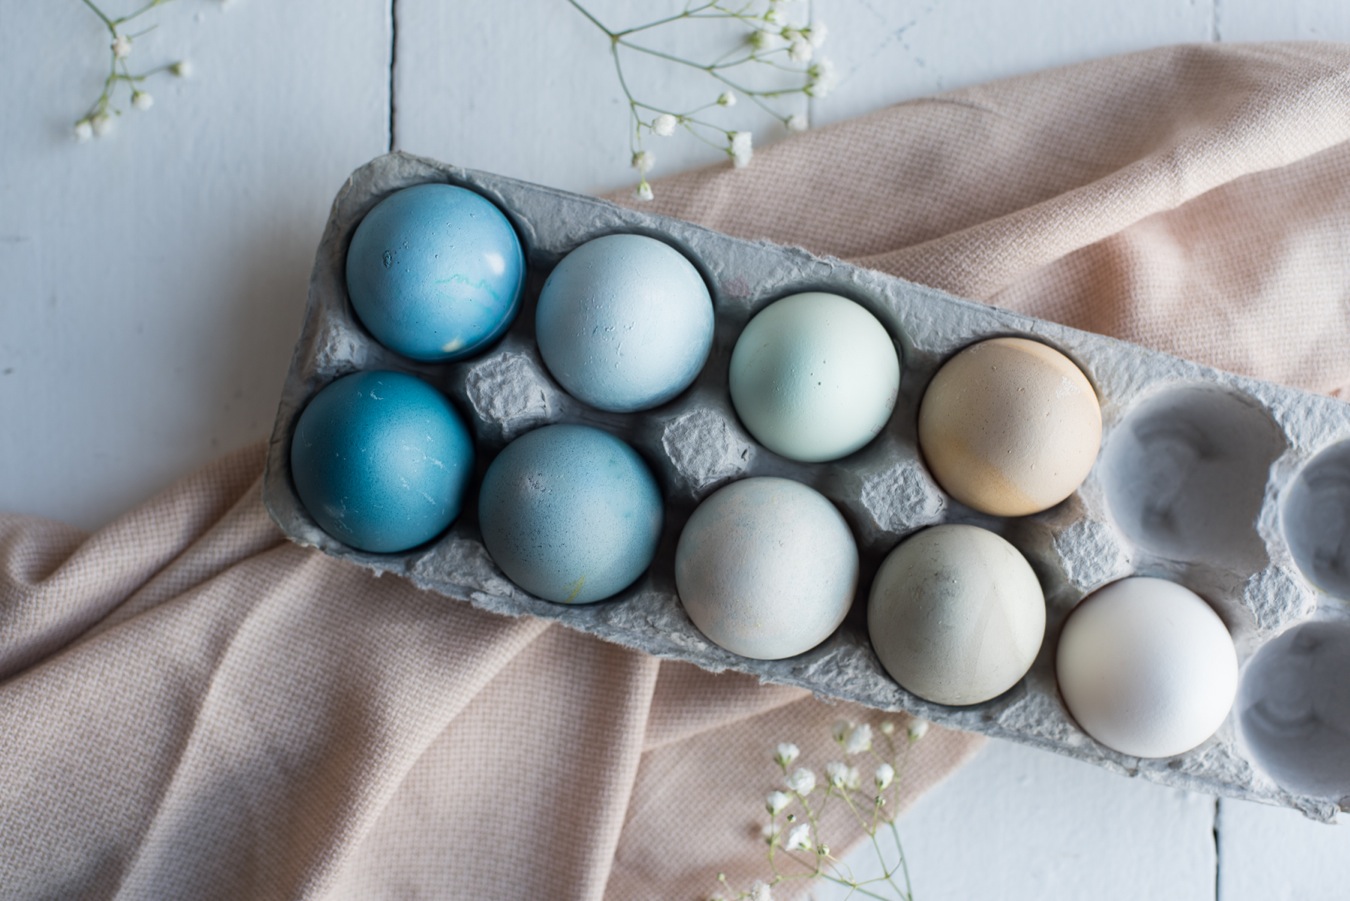
- For best results, we suggest you use white or blue eggs. If you want to eat them once you’re done colouring, hard-boil them first and let them cool a bit.
- Prepare all colouring recipes separately. Put each recipe’s ingredients in a cooking pot and simmer on medium heat for about ten minutes, until the water is well coloured.
- Filter the coloured water through a sieve, and pour it in a container deep enough for your eggs to be completely covered by the colouring.
- Put an egg (or eggs) in the colouring of your choice.
- Let the eggs stand in the colouring for at least 30 minutes. For deeper colours, you can even let them stand overnight. If you want to eat the eggs once you’re done, it’s preferable to do the colouring process in the fridge.
- When your eggs reach the desired colour, gently take them out of the colouring using kitchen tongs or a spoon, and let them dry on a wire rack, over paper towels.
- You can also dip your eggs in two colours. For example, if you want a green egg, simply dip it in blue colouring first, and then dip it in the yellow colouring. And voilà, your own beautiful Easter eggs!
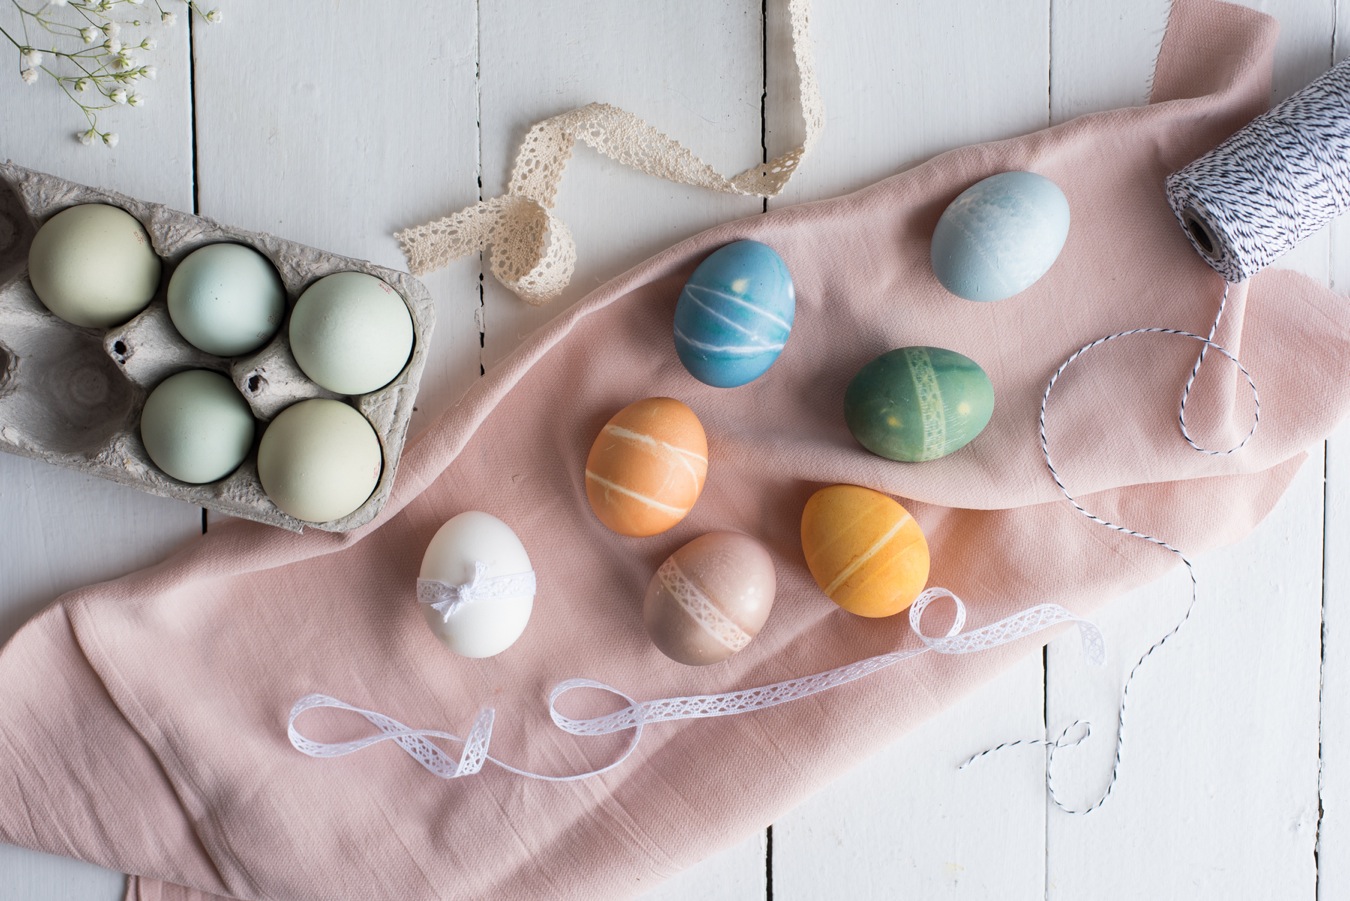
Pattern creation ideas
Simply tie string or lacy ribbon around your eggs before colouring them. Once coloured, remove the string (or the ribbon) from the eggs, and let them dry on the wire rack.
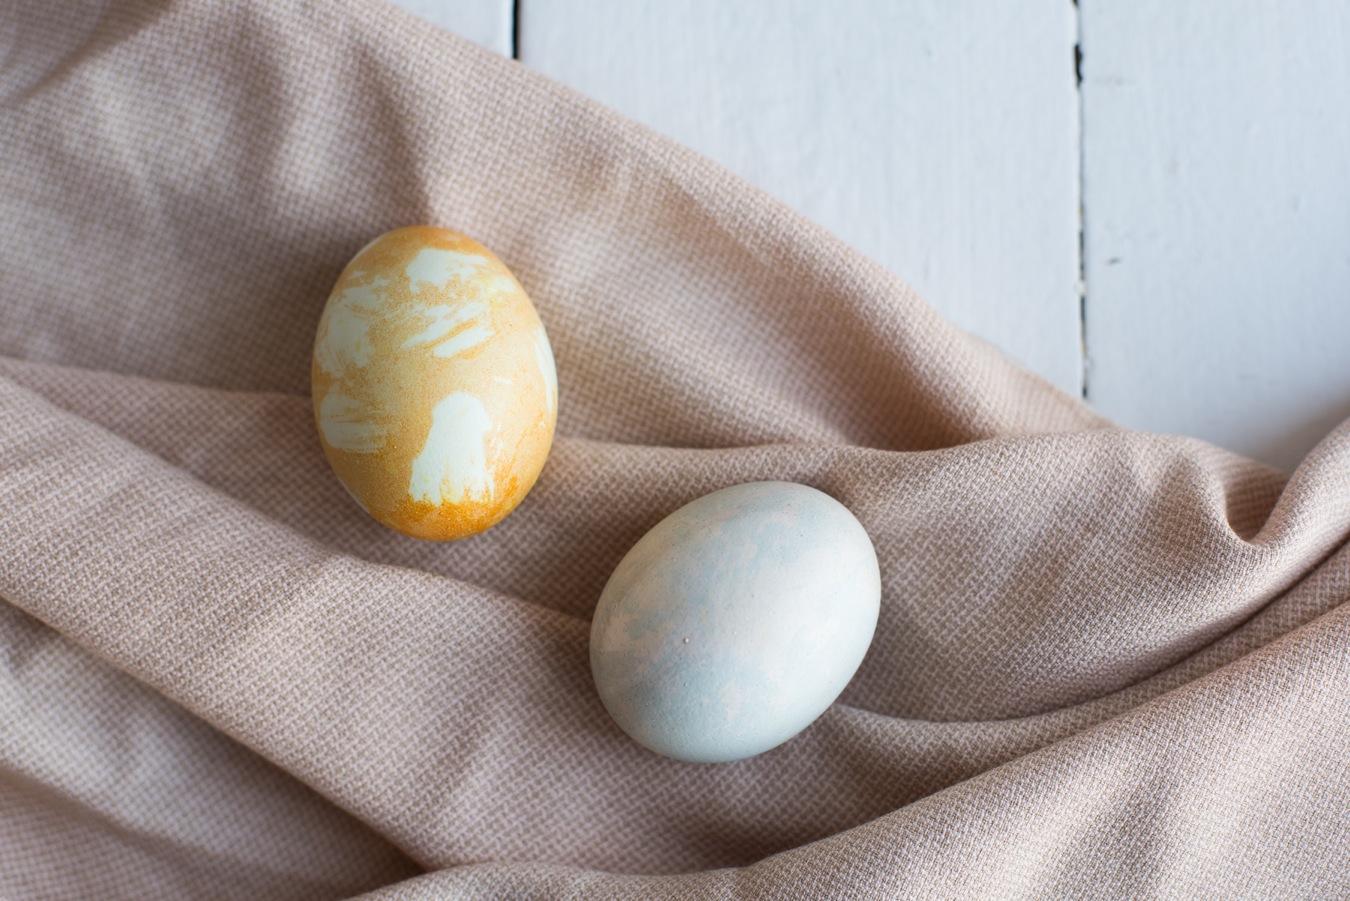
Creating a marbling effect
Put a Ziploc-type plastic bag on your hand as you would a glove. Rub some some butter unevenly on the bag. Don’t cover the whole bag. Then take an egg, place it in your hand, and close the butter covered plastic bag around it without rubbing. Doing this will cover some parts of the egg with butter and leave some areas free of butter. This is what will create your marbling effect, as the colouring won’t stick to the areas covered with butter. When the colouring process is done, rinse the butter off the egg and let dry on the wire rack.